Showing posts with label dining room. Show all posts

Monday, September 21, 2015

DIY Chairs

Hi  What have you been up to lately?   I’ve been busy painting DIY chairs and finding fabric bargains to cover them.  The latest one is the two chairs at the ends of our dining room table.  Several years ago I covered them in  a check pattern I made with shirts from Goodwill.  They were beginning to get a little worn looking.  So when I found some red and blue toile regular $13 a yard for $4 a yard I couldn’t resist buying it.  I unscrewed the seats.
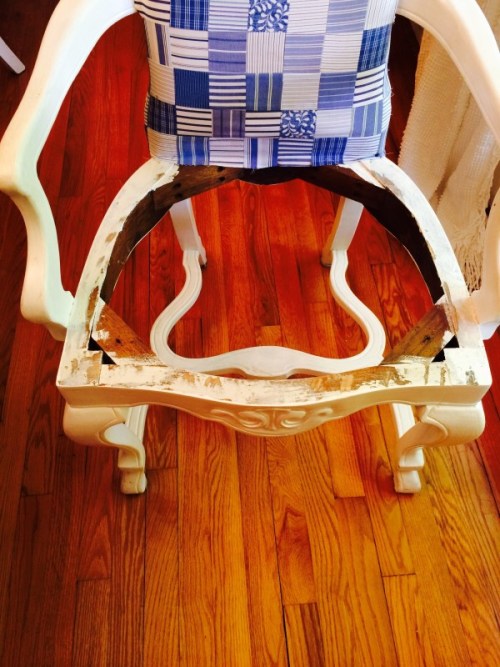
 And took off the fabric.  This is what I had before the blue.  I just used  scissors to cut the fabric bigger than the seat, then folded it over and used a staple gun to staple it.

 Here they are finished.  But they didn’t  look right in the dining room anymore, so  I wandered around the house looking for where I could put them and they ended up here in our front entry.  I really like them there, so what if you trip over them when you come in the front door? Just a minor inconvenience.


I got this fabric on sale too, reg. $29 a yard for $12, and I only needed 3/4 yard.  I am always picking up odd chairs here and there.  This was an orphan chair that I picked up by the side of the road.  I always seem to be doing DIY chairs projects.  Maybe I should be “the chair whisperer”.  Anyhow, there were 2 like this and one with arms.  Chalk paint from Walmart , staple the fabric to the seat, and another project is done.  Color is “Nautical”.  (I should have taken a close up photo so you can see the distressing.  I’ll do that another day).
 Remember I showed you these chairs that I painted with the Walmart chalk paint?  I decided they looked better at either end of the table than the blue ones I had before.  The blue orphans are in the middle.
Here is how the dining rom looks now.  Did I already tell you about the brass chandelier I got for only $15?  Out came the red spray paint and we have a new chandelier.  My new red color scheme is falling into place. To be continued…
Rhondi xo

Monday, August 31, 2015

Chalk Paint Chair DIY

So I am continuing to add some red to our living and dining rooms. Here is the next addition to the new red color story going on in our house. I bought a pair of these chairs about 15 years ago when we lived in Philadelphia.  They have just been collecting dust in our basement for the last few years.  They used to be black.

 I covered the black paint with Annie Sloan Chalk Paint pure white.
 Second coat was chalk paint from Walmart ($7.98).  The color is Imperial. If you’ve purchased chalk paint before you’ll know what a great deal that is!
 I did it very quickly, not worrying about getting a smooth even coat.
 Then I took some sandpaper and “distressed” it.  Distressing is just sanding off parts where it would have naturally worn off over time. I used 100 sandpaper which is a medium grit. If you don’t like this sloppy look , just make sure that your top coat of paint is even strokes.  
 The arms are a place that would get a lot of wear over the years, so I sanded there too.  Annie Sloan suggests using a coat of paste wax before you distress, but I think it distresses easier if you sand before you wax it.
 I sanded the legs and also the rugs and any other place I thought would get natural wear over the years.  The idea is to make the areas that you distress not look deliberate, but look like it happened naturally over time.  When I was finished I gave it a coat of paste wax. 
 The final step was to recover the chair seat.  Sorry I didn’t think to take any photos of how to do it.  Just google it, if you need some instructions. All you need is a staple gun, screwdriver to remove the seat, and fabric to cover it.
Right now the walls in our dining room are a pale yellow. The red chairs are going in there and I have a red chandelier that will replace the white one. I’m thinking of painting the top half of the walls navy blue. If I don’t like it, it’s only paint…  
I didn’t mention this to my husband yet.  I wonder what he’ll think when he reads this post!

Thanks for stopping by. Got time for a cup of tea?  I’ve got my red and white tea set all ready!


Rhondi xo

Wednesday, April 9, 2014

Spring Tablescape

Spring is here.  Leaves are starting to bud on the trees.  The grass is green.  There are beautiful shades of green everywhere and it inspired me to do a spring tables cape.


The blooms on my viburnum start off lime green before they turn to white and a white pitcher is the perfect container for them.

Blue and white is the perfect compliment to lime green.  So for my spring tablescape that’s what I used since I just happen to have a little bit of blue and white china.

A blue checked tablecloth, covers the table and then a bouquet with viburnum, dogwood and hellebores provides the centerpiece.

 No table in our house is complete without a teapot.  This was a yard sale find years ago.
 Instead of using our everyday china, Blue willow,  I mixed and matched different pieces for each place setting.
 I placed a fake green apple in the center of each plate to add a little more color.


                                                         Two little rabbits add to the whimsy.

and added some silver napkin rings ( should have polished them first) and napkins I got at Magpies last weekend


 These bird napkin rings are antiques that we’ve had since we were first married, which will be 45 years this July.  So they are really old now :)

So that’s my spring tablescape.  Oops, just noticed I forgot to put any silverware on the table.  Oh well, it was just for fun anyhow.  We weren’t really going to have a meal  there today.

I am joining Tablescape Thursday at Between Naps on  Porch and Anything Blue Friday at The Dedicated House
Rhondi xo

Sunday, March 2, 2014

Enough is Enough Plate Collection

When do you say, “Enough is enough?”   I am asking myself that question.  You see I have a few plates, blue and white ones. I guess I should call it a plate collection

 The first place I  hung some plates in this house was in our sunroom above the windows.
My plate collection began quite unintentionally the first time I used plates for decor on our walls.  That was in our family room in the early 90’s.   I think I had about 5 or 6 plates, a couple of which I stole from our everyday Blue Willow china. Then we moved to Pennsylvania, which was garage sale heaven and I began to find blue and white plates everywhere that were so cheap, sometimes only 25 cents.  And so my collection began.

After the sunroom I hung smaller ones in the kitchen above the cabinets, just the perfect size for bread and butter or salad plates.

                                   
                          They don’t go all the way around yet, but they’re getting there.

                                               
                                             Then I put some on the dining room walls.


 As I began to get more plates I went back to the kitchen and started to hang them in other places: the wall where the phone used to be.  The blue willow plate on the left side hides the phone connection.


When I removed the top of the hutch it gave me an extra wall in my kitchen, so I began to hang them in a random way. As you can see there is still room for more.
The other day I was wondering how many plates I have hanging on the wall, so I counted them. What is your guess?  30?  40?   If you guessed any of those numbers you would be wrong. I am embarrassed to say I have 81 plates hanging on my walls!!
I guess I have to say “enough is enough”
Do you have something you have collected that maybe it’s time to say, “Enough is enough?”
                                                                     Rhondi xo

Saturday, September 7, 2013

Chandelier Makeover with Spray Paint

I have wanted to do a chandelier makeover with spray paint for some time.  Our chandelier is brass with black accents.  It came with the house and I’ve never liked it.  Some time ago I saw Candice Olson on her HGTV show do a chandelier makeover with white spray paint and it was gorgeous, so I decided that’s what I wanted to do.

 The candles and part of the upper center was black  which made it even darker, but I had already painted them before I took this photo.  It has beautiful crystals on it that really sparkle when it is lit up.


 Last weekend I finally got around to doing my chandelier makeover with spray paint.  Do you ever have a idea for a project  and it takes you forever before you actually do it, and when you finally do,  it takes much less time than you thought it would?

On the HGTV show she covered every crystal with foil and then spray painted it while it was hanging from the ceiling.  I have no idea how she ever sprayed it without getting spray throughout the entire room!  I took off all the crystals first. Fortunately  I took a “before” picture  or I wouldn’t have know which crystals went where when I went to put them back on.  Anyhow, I took off the crystals and cleaned them while my husband disconnected the wires.  The only tricky part was finding a place to hang it while I spray painted it.  The hook for the  bird feeder in our backyard worked just fine.
I used Rustoleum gloss white.  This picture isn’t very good.  I need a new camera.  Maybe my husband will read this ðŸ˜‰
                                                            I love how it turned out.

                                                        It really sparkles when it’s lit up!


You might have noticed there are a few patches of different color paint on the walls.  I was trying to decide between a pale blue or white. I like the look of the living room all white so I think the dining room is going be white too.  As soon as I get the dining room walls painted my spray painted chandelier will look enter better and sparkle even more!
But I have a wedding dress to make for my daughter so all painting  is on hold until I get that finished!
Before I go I just want to encourage you that if there is a small project around your home that you’ve planned to do and haven’t yet, maybe you should just do it.  I’m glad I finally did!
Rhondi xo

Sunday, January 20, 2013

Dining Room Changes

One of my favorite things to do is to putter around my house.  Recently the “puttering” turned into refinishing the  dining room table top.  Years ago, I painted it white and over the years it has had several  hand painted borders.  It had gotten very worn looking so it was time for a change. I decided to strip the paint off the top and let the wood  be seen.
Here is the project part way through.  It’s a very big table when both leaves are in! I used a paint stripper and scrapped all the paint off until I got down to the bare wood.
 Then I used  a Minwax walnut  stain, let it dry completely then used Minwax Wipe On Ploy to finish it off… and  voila!  Here is the finished table top.
 I also spray painted the chairs white and got this fabric (blue and white of course) on sale at Hancock Fabrics and I recovered the seats.If you’ve never recovered a dining room chair, let me know and I’ll tell you how.  It’s easy shmeasy
 I also put a string of white Christmas lights inside the china cabinet.  Oops, just noticed the photo shows the white drawers which I’ve never got around to painting. To make it really sparkle, I took out all the china except 2 white tureens and I put all my cut glass and silver things  to catch the light.  This doesn’t show it too well.  I’ll try to remember to take a picture of  it at night and show you.
 And here is my dining room with a fresher look. The picture isn’t very good but I wasn’t patient enough to wait for the light to change.

I am happy with how it turned out.  The contrast of the wood top with the white legs is good.
Next project is to make some drapes, just have to find the right fabric at the right price.
With rose colored glasses,
Rhondi
**Finally figured out what was wrong and comments are working again!  Thanks for your patience.

Friday, March 26, 2010

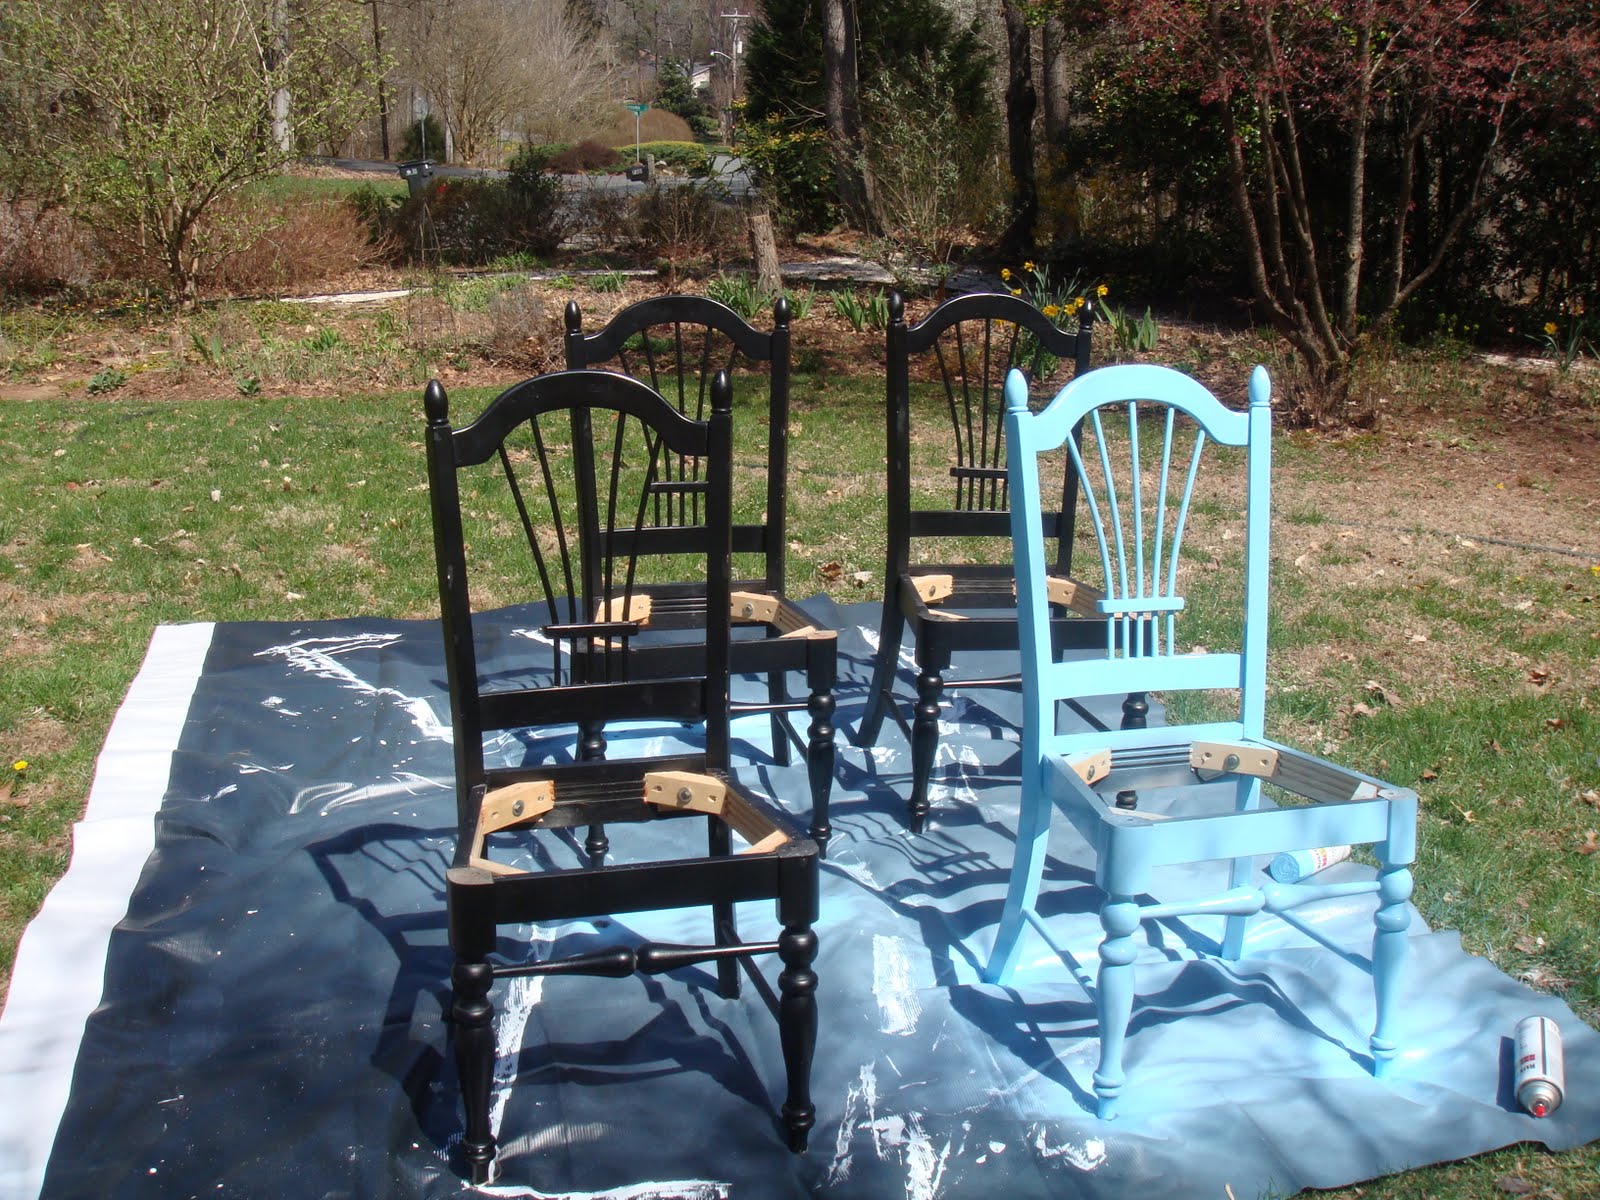
Playing With Spray Paint Again

The day was warm, the air was still.  A perfect day to spray paint! 


I covered the seats with fabric left over from a project years ago.

Before...

After

I'm in love with this color!
Rhondi xo